Prezi is one of the leading Web 2.0 applications embraced especially by language teachers since it has the capacity to present information in a completely different way. In my previous Prezi posts, I have tried to show the basics of how to create a Prezi. In this post, I am going to show one way of using a Prezi in the reading classroom. Using Prezi as a tool to accompany the reading class can be an efficient and fun way to address the students' perceptions and their desires to experience something different. Here is how you can do it:
Showing posts with label prezi. Show all posts
Friday, May 27, 2011
Te@ch Me Prezi Part 4: Adapting a Reading Text
Prezi is one of the leading Web 2.0 applications embraced especially by language teachers since it has the capacity to present information in a completely different way. In my previous Prezi posts, I have tried to show the basics of how to create a Prezi. In this post, I am going to show one way of using a Prezi in the reading classroom. Using Prezi as a tool to accompany the reading class can be an efficient and fun way to address the students' perceptions and their desires to experience something different. Here is how you can do it:
Friday, February 18, 2011
Te@ch me Prezi Part 3: The Bubble Menu
The Bubbles:
1. Write: This is the default bubble when you first start your editor. When in write mode, you can use your canvas to insert (write or copy/paste) text. You place your mouse anywhere on the canvas and click once (not a double click!). When you see a cursor flashing on your canvas, you can start writing. The moment you start typing, Prezi will open the text editor. In the editor, you can align your text and decide whether you want it to be part of a title or a body. Once you click "Ok", your text will become an "object" on your canvas, which you can manipulate at any time. Don't forget that everything you place on your "canvas" becomes an object that you can manipulate (zoom in, zoom out, rotate, etc...).
![]() |
| The Bubble Menu |
![]() |
| The Text Editor |
Labels:
prezi
Te@ch me Prezi Part 2: The Basics
In my last blog post, I tried to explain what Prezi actually is and how it should be (or shouldn't be) compared to PowerPoint. In this post, I will try to explain some of the basics of using Prezi.
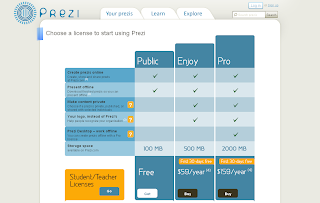
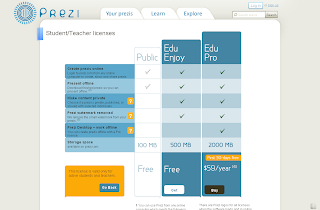
Signing up: The sign-up process is pretty easy. All you have to do is to decide which license you need. Prezi offers three licenses: Public, Enjoy and Pro. The Public license is free. However, if you are a teacher, there is another, more delicious option for you: Prezi offers a free teacher/student license which is the same with the $59 Enjoy license. It allows offline viewing (you can download your presentations), private (you don't have to make them public) and watermark free presentations (you can insert your own logo). To get this license, you have to provide an e-mail address that shows your teacher/student status. This can be either an .edu or a .k12 address. Prezi does not accept any other e-mail addresses for a teacher/student account. Though, here you can find an alternate way that Prezi suggests to get an .edu address.
After you have received your confirmation e-mail, you can log on to the site and start creating your own Prezis.
First steps: After clicking the "New Prezi" button you will be asked to give a title for your presentation. You can also provide a brief description about your presentation, so that people will know if it fits their needs.

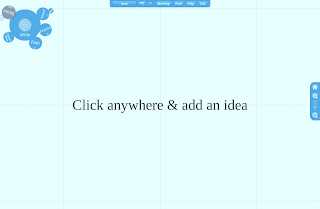
The Editing "Canvas": Now you are at the editing area of your Prezi. This is the place where you are going to design your Prezi presentations. On the upper left corner of the page you will see a "Bubble Menu". Here are all the tools that you need to create your presentations. You can click each "bubble" for a certain tool and other related tools will appear.
![]() |
| The Editing Canvas |
After this point, you will start creating your presentation. To start editing your Prezi, you should become familiar with the "Bubbles" Menu, which will be the main topic of Te@ch me Prezi: Part 3.
Click here to continue reading Part 3
Labels:
prezi
Thursday, January 6, 2011
Te@ch Me Prezi Part 1: What is it?
When I first saw a Prezi presentation, I thought this must be the ultimate presentation tool. Sitting in front of the computer, my jaw dropped. If you want/need to impress anyone for any reason, you should use Prezi, and you will be successful. The person watching you will admire you and ask you a thousand times how you've done it. It sure has a "wow" effect when used efficiently. However, my interest in it was based on the fact that it would make a great tool for the language classroom. It really is. All the presentations I have prepared for reading and writing classes have received positive feedback from teachers and students.
What is Prezi?
Usually, the first thing that people ask is "Is it different from PowerPoint?". I think this is one way of defining Prezi: It is very different from Powerpoint. By knowing these differences we can also determine where and how to use Prezi. Some teachers ask me how they could convert a powerpoint presentation to Prezi. Well, they shouldn't do that unless they plan to focus on something completely different from their original PowerPoint presentation.
For a start, PowerPoint is based on the use of slides. These slides can show text, pictures and videos. You can also use different animation techniques in these slides to focus on different language points. This is all happening on slides, and these slides are shown in a certain order.

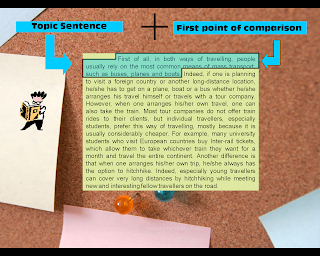
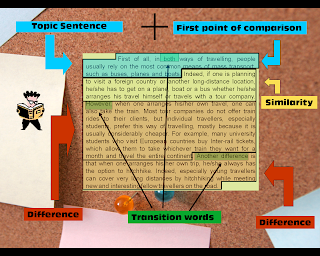
This is one slide showing various parts of an academic body paragraph. Each mouse click reveals a different part
Everything is seen from one point of view. Imagine a desktop with all your documents, pictures and videos. laying on it. Now think that there is a fixed camera on top of the desktop and you are moving all objects on your desktop into the view of the camera. That is how PowerPoint basically works. Everything happens in front of that camera.
Prezi, however, has a completely different approach for showing your presentation. In Prezi, you do not have slides but an empty canvas, or to compare it to the Powerpoint example, an empty desktop. Imagine that all your objects; text, pictures and videos are spread out on your desktop. Now this time, your camera is not fixed. It is a moving camera showing all the objects in a predefined order (which is called "paths"). Imagine the camera floating over your desktop and zooming in and out of everything you emphasize in your presentation, and in a teacher's case, a language point.

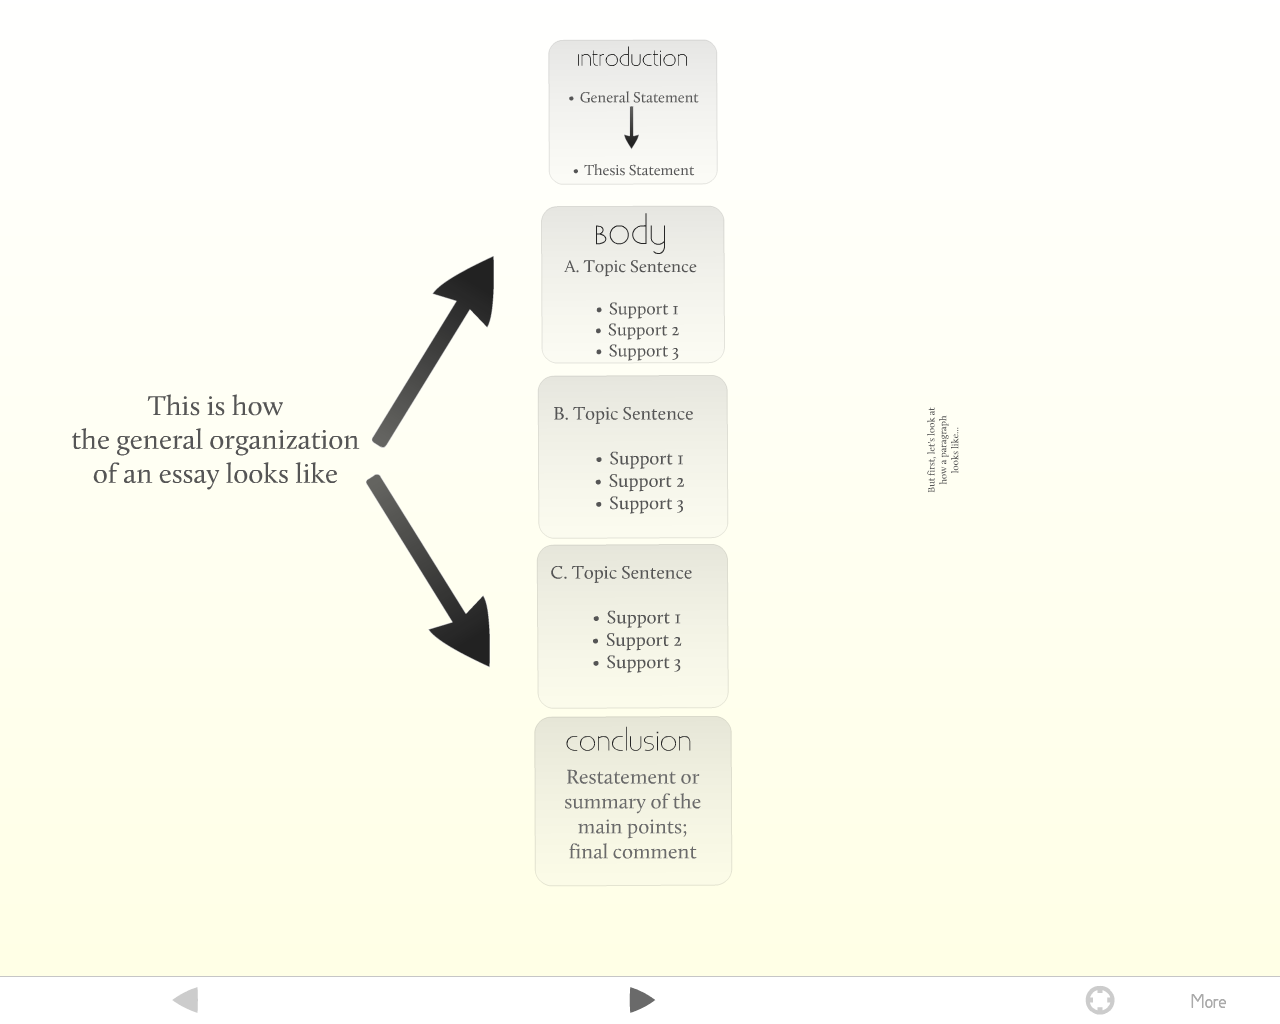
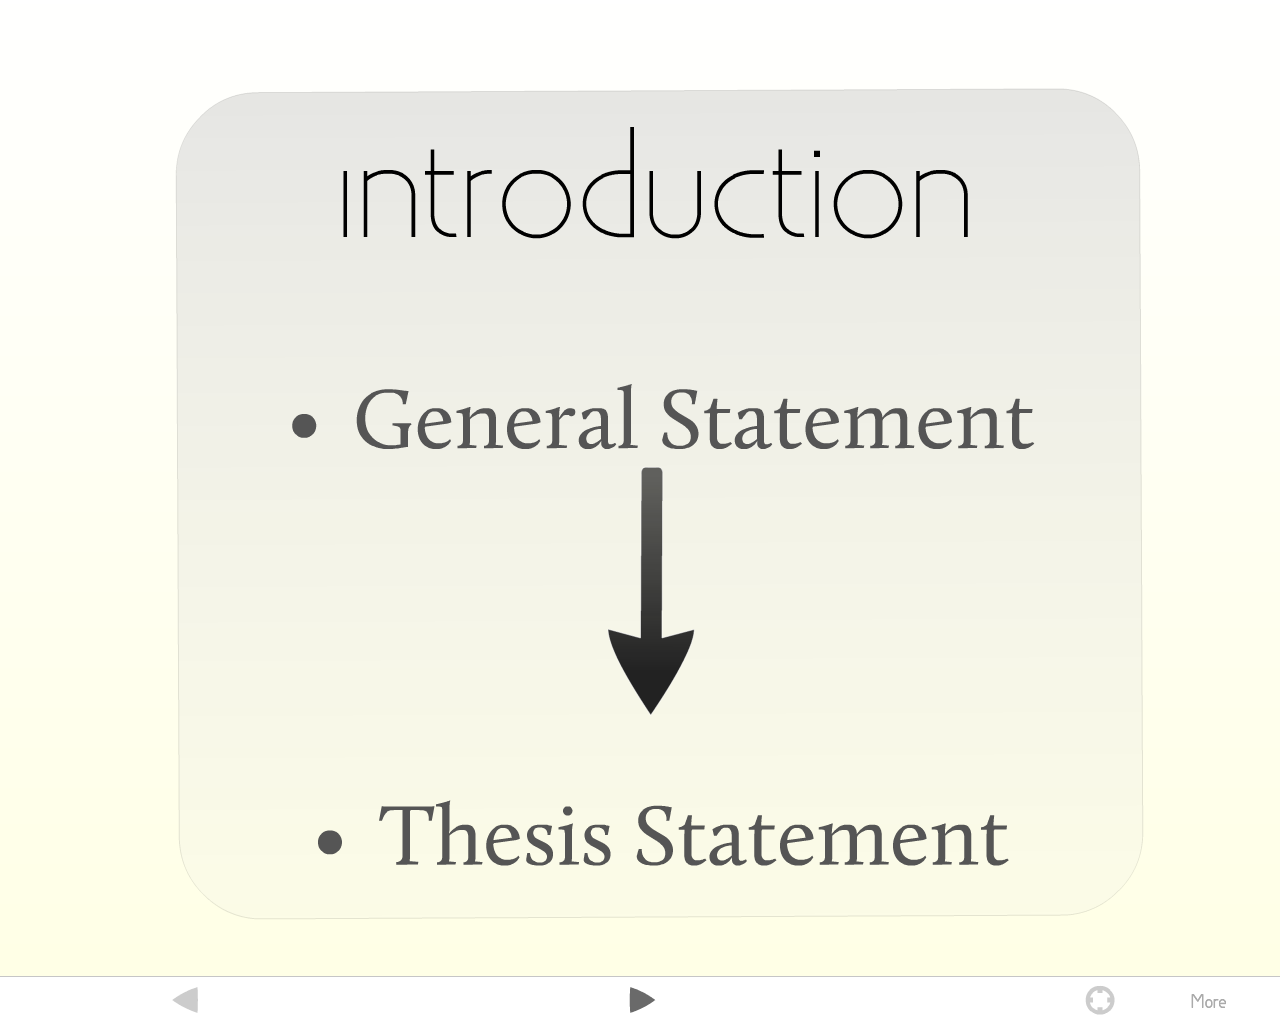
On the left you can see the organization of an academic essay in one view. On the right however, is the next path of the presentation which consists of a "zoom", in this case "the introduction"
You can use the "camera" however you like. It is possible to turn and twist and to zoom in and out of everything that you place on your "desktop", therefore creating a unique way of presenting information. Below are the complete versions of the two mentioned presentations:
Powerpoint:
Prezi:
These two examples show how Prezi and PowerPoint are different in many ways. The reason why I used this comparison is to show what Prezi actually is and how we should perceive it. In the next part I will focus on the basics of Prezi.
To continue reading: Te@ch me Prezi: Part 2
Labels:
presentations,
prezi
Friday, October 8, 2010
A Prezi Approach to Teaching an Academic Paragraph and Essay
This is one way of teaching a writing class accompanied with Prezi. The main objective is to highlight certain similarities between a paragraph and an essay by zooming in and out on the parts of an essay. Feel free to comment...
Tuesday, October 5, 2010
Subscribe to:
Posts (Atom)