 |
| The Bubble Menu |
 |
| The Text Editor |
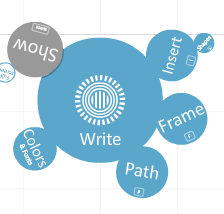
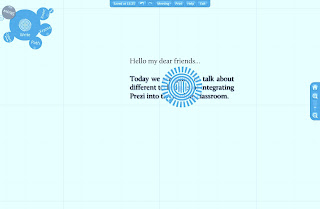
1. Write: This is the default bubble when you first start your editor. When in write mode, you can use your canvas to insert (write or copy/paste) text. You place your mouse anywhere on the canvas and click once (not a double click!). When you see a cursor flashing on your canvas, you can start writing. The moment you start typing, Prezi will open the text editor. In the editor, you can align your text and decide whether you want it to be part of a title or a body. Once you click "Ok", your text will become an "object" on your canvas, which you can manipulate at any time. Don't forget that everything you place on your "canvas" becomes an object that you can manipulate (zoom in, zoom out, rotate, etc...).
 |
| The Transformation Zebra |
The Transformation Zebra: The Transformation Zebra appears whenever you click any object (texts, pictures, videos, etc...) on your canvas. You use the Zebra to move, rotate and zoom in and out of the object. At first it takes a while to get used to it, but once you do, it becomes a very easy and practical tool.
How to use the Transformation Zebra:
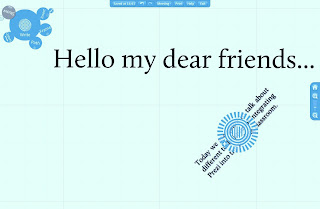
The Zebra consists of three areas. The outer ring, the inner ring and the center. When you grab (click and hold) and turn
the outer ring with your mouse the object will
rotate 360
0. When you grab and turn the
inner ring, the object will
zoom in and out. When you grab and turn the
center, the object can be
moved. This way you can adjust and size your objects on your canvas.
 |
| Insert Shapes, Pdf Documents and Videos |
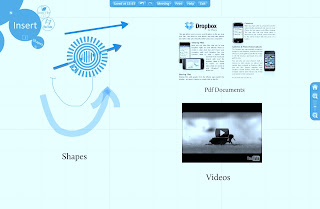
2. Insert: You use the "Insert" bubble to insert pictures, videos (supports a wide range of formats), pdf documents, YouTube videos and shapes. After you have inserted your object, you can again manipulate it with the Transformation Zebra. As mentioned before, everything you place on the canvas becomes an object which can be manipulated.
 |
| Just click on objects to assign paths |
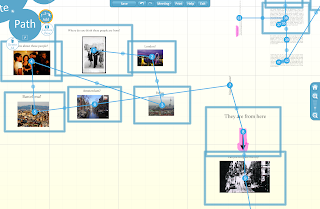
3. Path: After you have placed all the objects that you want to use in your presentation, it is time to arrange a certain "path" your objects are going to follow. As I had mentioned before, Prezi is a presentation tool which is like a camera that floats over your objects on a desktop. To arrange your objects in your presentation, you have to put them in the desired order. To do this, you click the "Path" bubble. This is a very easy procedure since you just click your objects and Prezi assigns a path number to them. In this way, you can see which object is "focused" first and which is next and so on. To check how your presentation progresses, you can make Prezi "show" it by clicking "Show" or your space key. Just use your left and right arrow on your computer to move back and forward in your presentation. To exit, just click your space key again and you will be back in editing mode.
 |
| Capture two objects at the same time |
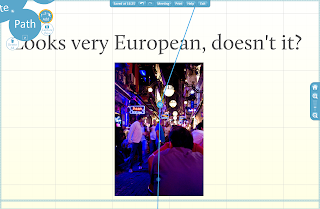
Capture view: Many users do not know how and why to use the "capture view" function at the beginning. You have to know that this is a very important function and that you will have a hard time arranging your Prezi if you do not know how and why to use it. As I have said before, everything on your canvas is an object which is treated as a single object by Prezi. When you assign a path number to a picture, Prezi will only focus on that picture. But, what if you have a title or caption on the top of the picture? They will count as two independent objects, but you want Prezi to treat them as one object and show them as one path number in your presentation. In other words, you want them to appear on the screen at the same time. What do you do? You position both your picture and title in a way that they can be seen together on the screen. Then you click "Capture View". Prezi will capture your view and present that "view" as a path in your presentation. You will have to experiment a little to get the hang of it, but will see that it doesn't take much to master it.
The next part will be about Techniques and Tips for creating Prezis.


1 comments:
yeah, I know the function of capture view. Thank you for your tutor. I expect to see how to use Prezi in your next post, part4, part5, and so on.
Post a Comment